 Sandy UT Plumbing Experts
Home / Services / Basement Waterproofing
Interior drainage & vapor barriers
Basement Waterproofing & Perimeter Drains in Sandy, UT
Interior french drains and wall vapor barriers that keep water from reaching a finished basement in the first place.
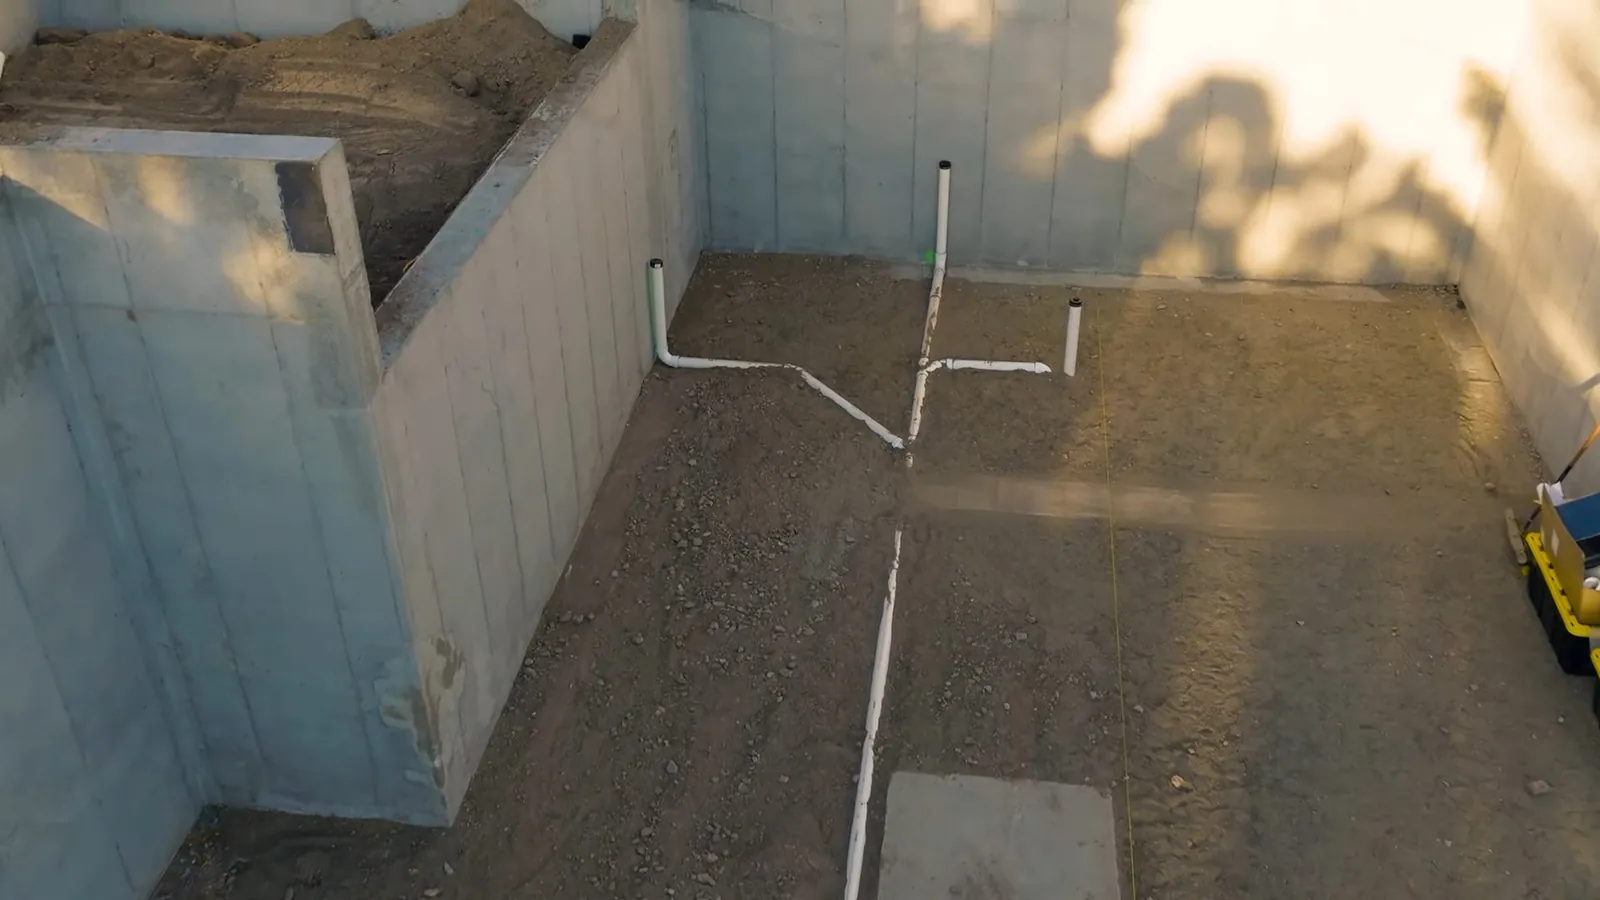
Signs a basement needs this
- A damp or musty smell that doesn't go away with ventilation.
- Water tracking in along the base of a foundation wall after rain or snowmelt, rather than from a visible plumbing leak.
- White, chalky mineral deposits (efflorescence) on concrete walls, a sign moisture has been passing through.
- A finished basement that's never flooded but always feels slightly damp.
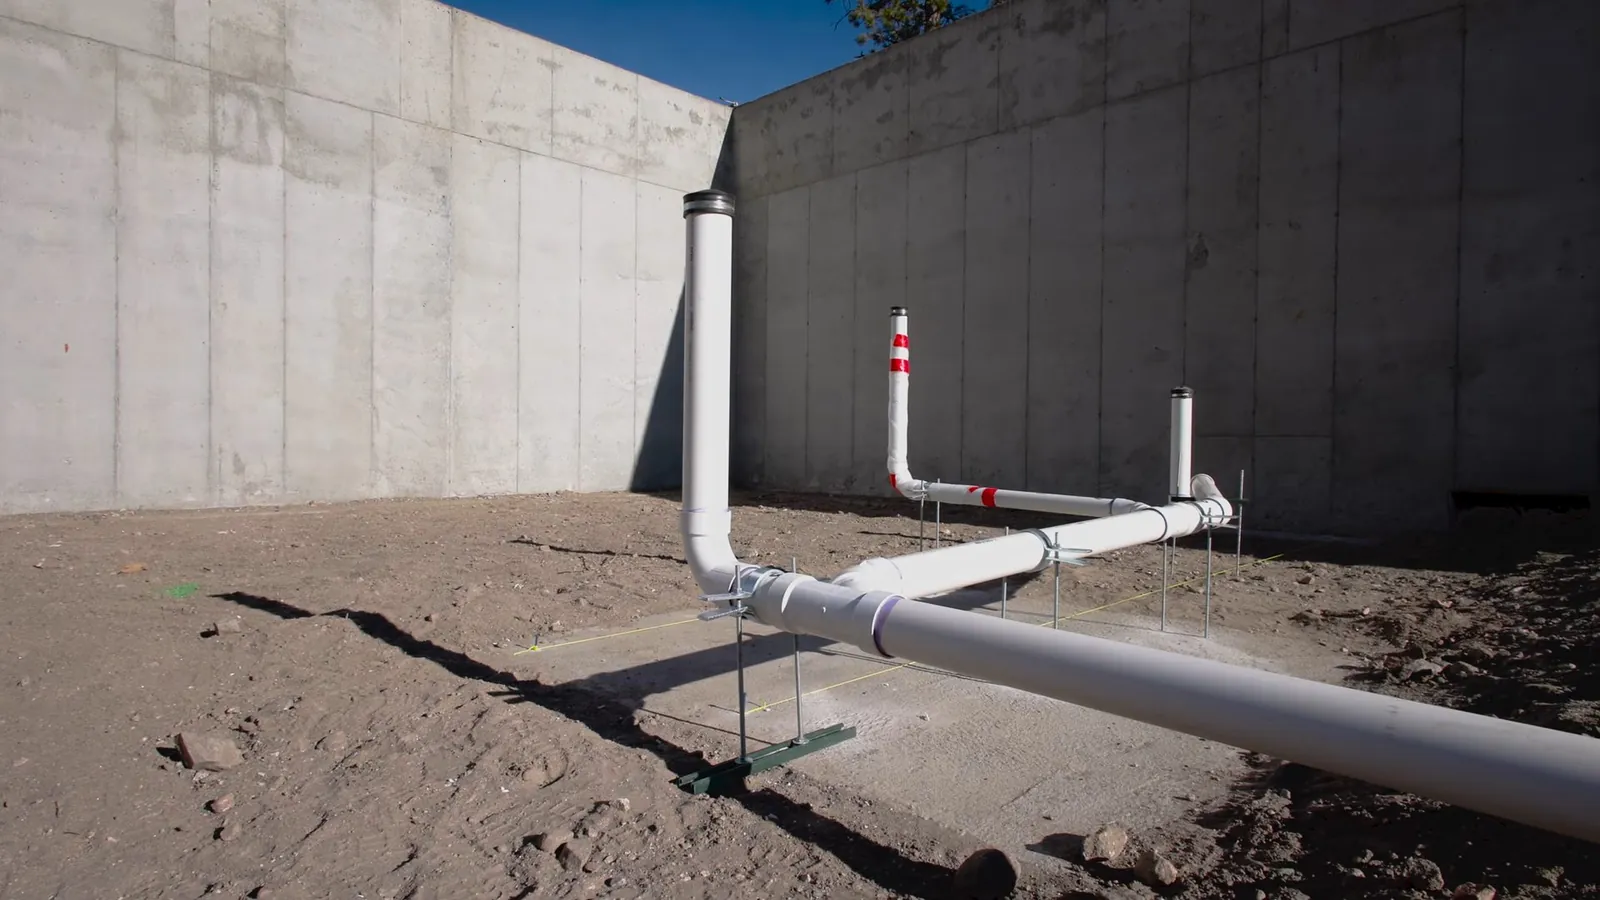
What this involves
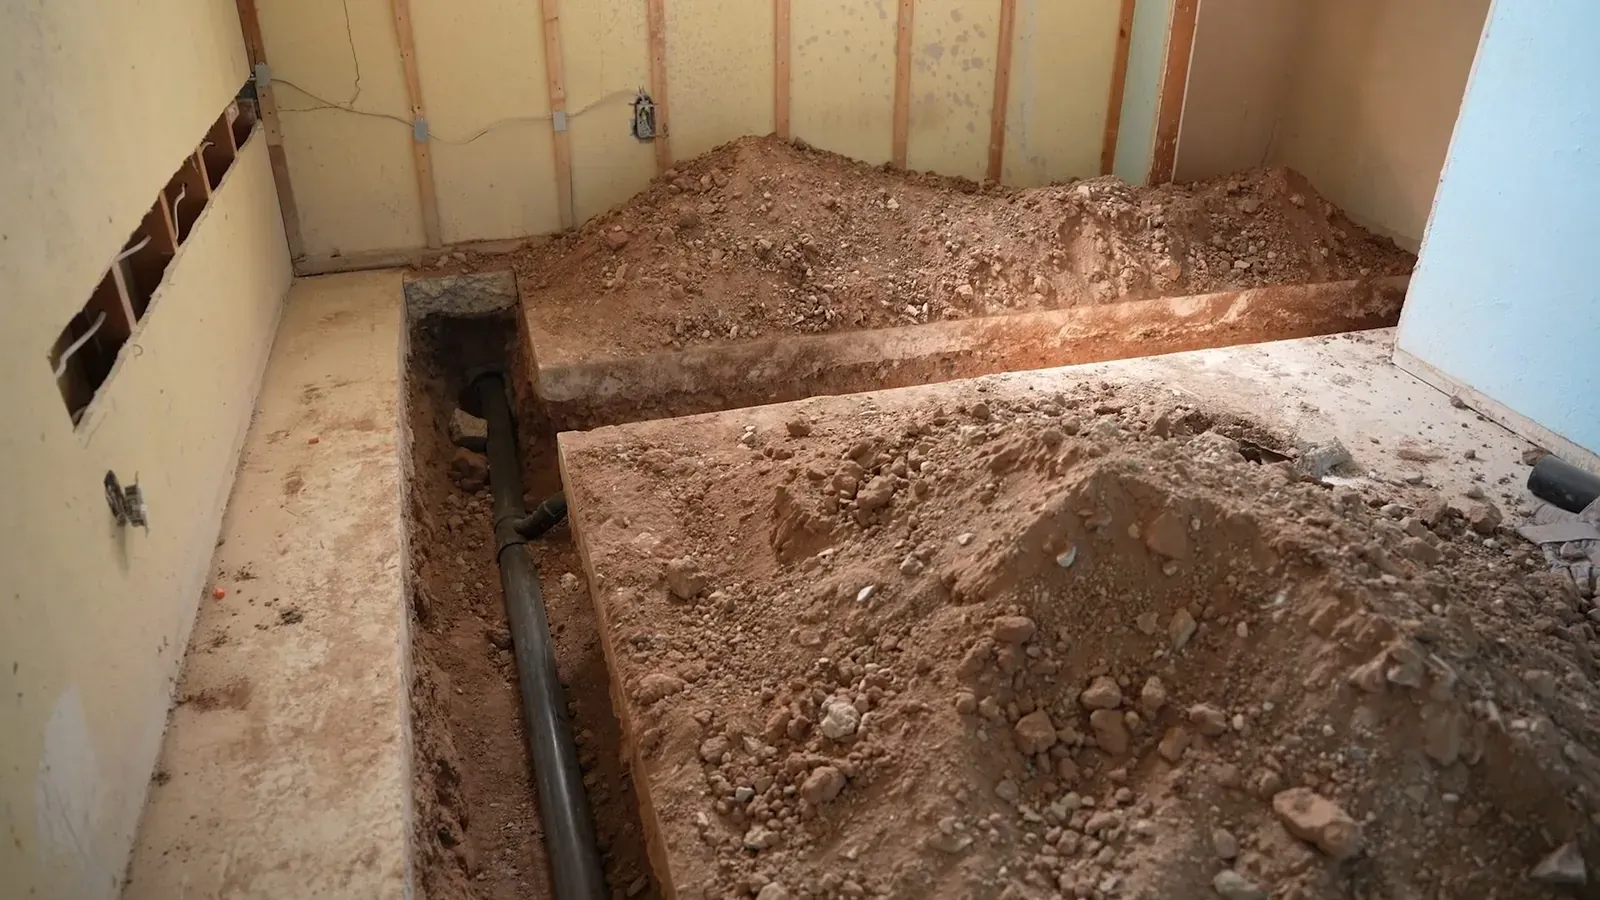
- Interior french drains: a channel at the base of the foundation wall that collects water before it reaches the floor and directs it to a collection point.
- Drainage basin preparation: cutting and setting a collection basin where the french drain routes to, built to the right size and depth for the system.
- Wall vapor barriers: sheeting installed against foundation walls to stop moisture vapor from passing through concrete into a finished space.
Damp basement, musty smell, or mineral staining on the walls?
Call (385) 555-0103
Sandy's bench neighborhoods sit on alluvial cobble and gravel washed down from the canyons, which drains differently than clean soil and can direct more water toward a foundation than expected during spring snowmelt. Older homes near the historic core, built before modern drainage standards, see this most often.
What this doesn't cover
This is a prevention and drainage service, not pump equipment installation or repair, and not the cleanup after water has already gotten in — that's extraction and drying on our Water Damage Restoration page. If you're not sure whether water is actually getting in or where from, Water Leak Detection handles that diagnosis first.
How a project works
- 1. On-site assessment: we look at where and when the moisture shows up.
- 2. Explain the system: drain path, basin placement, and vapor barrier coverage, before any work starts.
- 3. Quote before digging: you approve the full scope and price first.
- 4. Install and test: we confirm the drain path actually moves water where it's supposed to go.
What affects the cost
- Linear footage of drain: a full-perimeter system costs more than a single problem wall.
- Concrete cutting required: breaking and patching the slab along the drain path adds labor.
- Basin placement: an easily accessible location costs less to prepare than one requiring extra excavation.
See our cost page for wide price ranges.
Maintaining the system afterward
- Keep the drain outlet and any collection point clear of debris during an annual check.
- Watch for new efflorescence or damp patches outside the protected wall run, which can mean the system needs extending.
- Grading changes in the yard, like new landscaping that slopes toward the foundation, can undo some of the benefit over time.
Timing the work
Spring, right after the heaviest snowmelt has passed, is when drainage problems are easiest to see and diagnose accurately. Waiting until a basement has already flooded means starting with extraction and drying first, then waterproofing afterward, rather than preventing the flood in the first place.
Finished vs. unfinished basements
An unfinished basement is a more straightforward install since the drain path and basin are fully visible and accessible. A finished basement usually means opening a section of flooring or baseboard along the affected wall, which we'll scope and quote before any cutting starts.
What a dry basement is worth over time
Beyond comfort, a basement that stays dry protects stored belongings, flooring, and any finished drywall from the slow damage that comes with repeated minor dampness rather than one dramatic flood. That slow damage is often harder to notice and more expensive to undo than a single clear event, which is part of why this is worth addressing before it becomes a water-damage call.
How long the work takes
A single-wall interior drain run with a basin typically takes one to two days, including any concrete cutting and patching. A full-perimeter system on a larger basement takes longer, and we'll give you a realistic timeline once we've seen the space rather than a generic estimate over the phone.
Signs the system is working
A properly functioning interior drainage system shouldn't be something you notice day to day — that's the point. The signs it's doing its job are negative ones: no new efflorescence (the white mineral staining) on the walls, no musty smell developing after a wet spring, and no new cracks appearing at the floor-wall joint. We recommend a quick visual check each spring rather than waiting for a problem to resurface.
Window wells and surface drainage
Basement window wells that fill with water during heavy rain or snowmelt are a common contributor to interior moisture, and they're often overlooked because the fix isn't inside the basement at all. Grading the soil away from the foundation and adding a window well cover or drain can meaningfully reduce the load on an interior system, and we'll flag it as a contributing factor if we see it during a visit.
Sump pit and discharge line maintenance
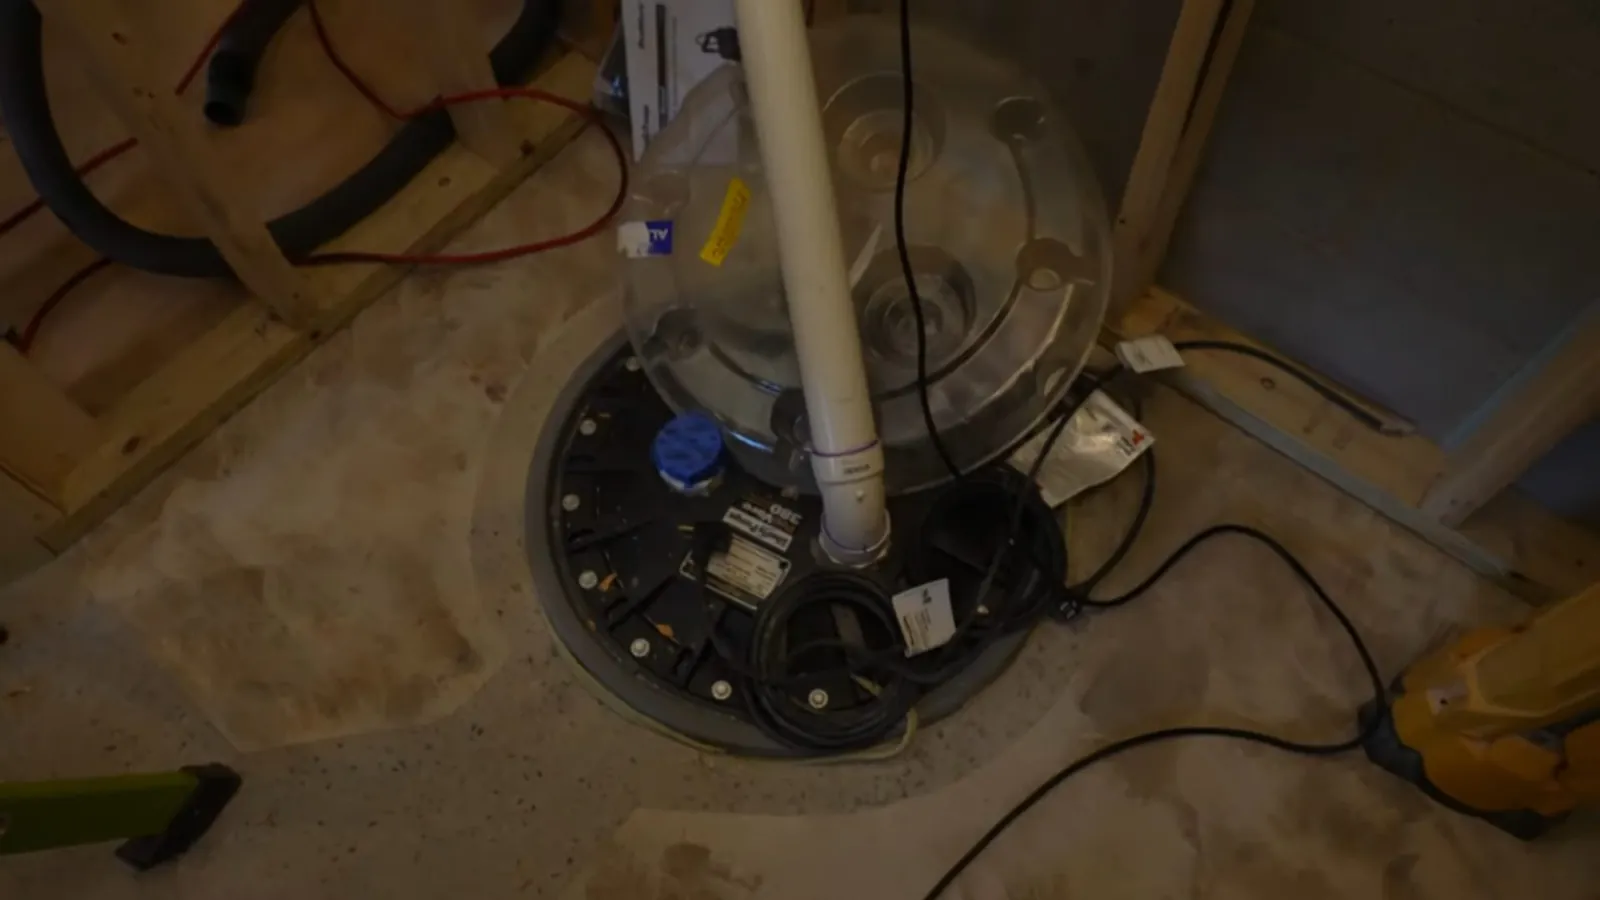
Where an interior drainage system includes a sump pit as part of the drainage path, keeping the pit clear of debris and confirming the discharge line outside the home isn't blocked or frozen in winter matters as much as the drainage system itself working correctly. A system that collects water properly but has nowhere for it to go accomplishes nothing, so we check the full path, not just the interior piece, during any waterproofing visit.
Cove joint sealing
The cove joint, where the basement floor meets the foundation wall, is one of the most common entry points for groundwater, since it's a natural seam in the concrete. Sealing or channeling this joint as part of an interior drainage system addresses a specific, well-understood failure point rather than treating the basement as one undifferentiated surface.